


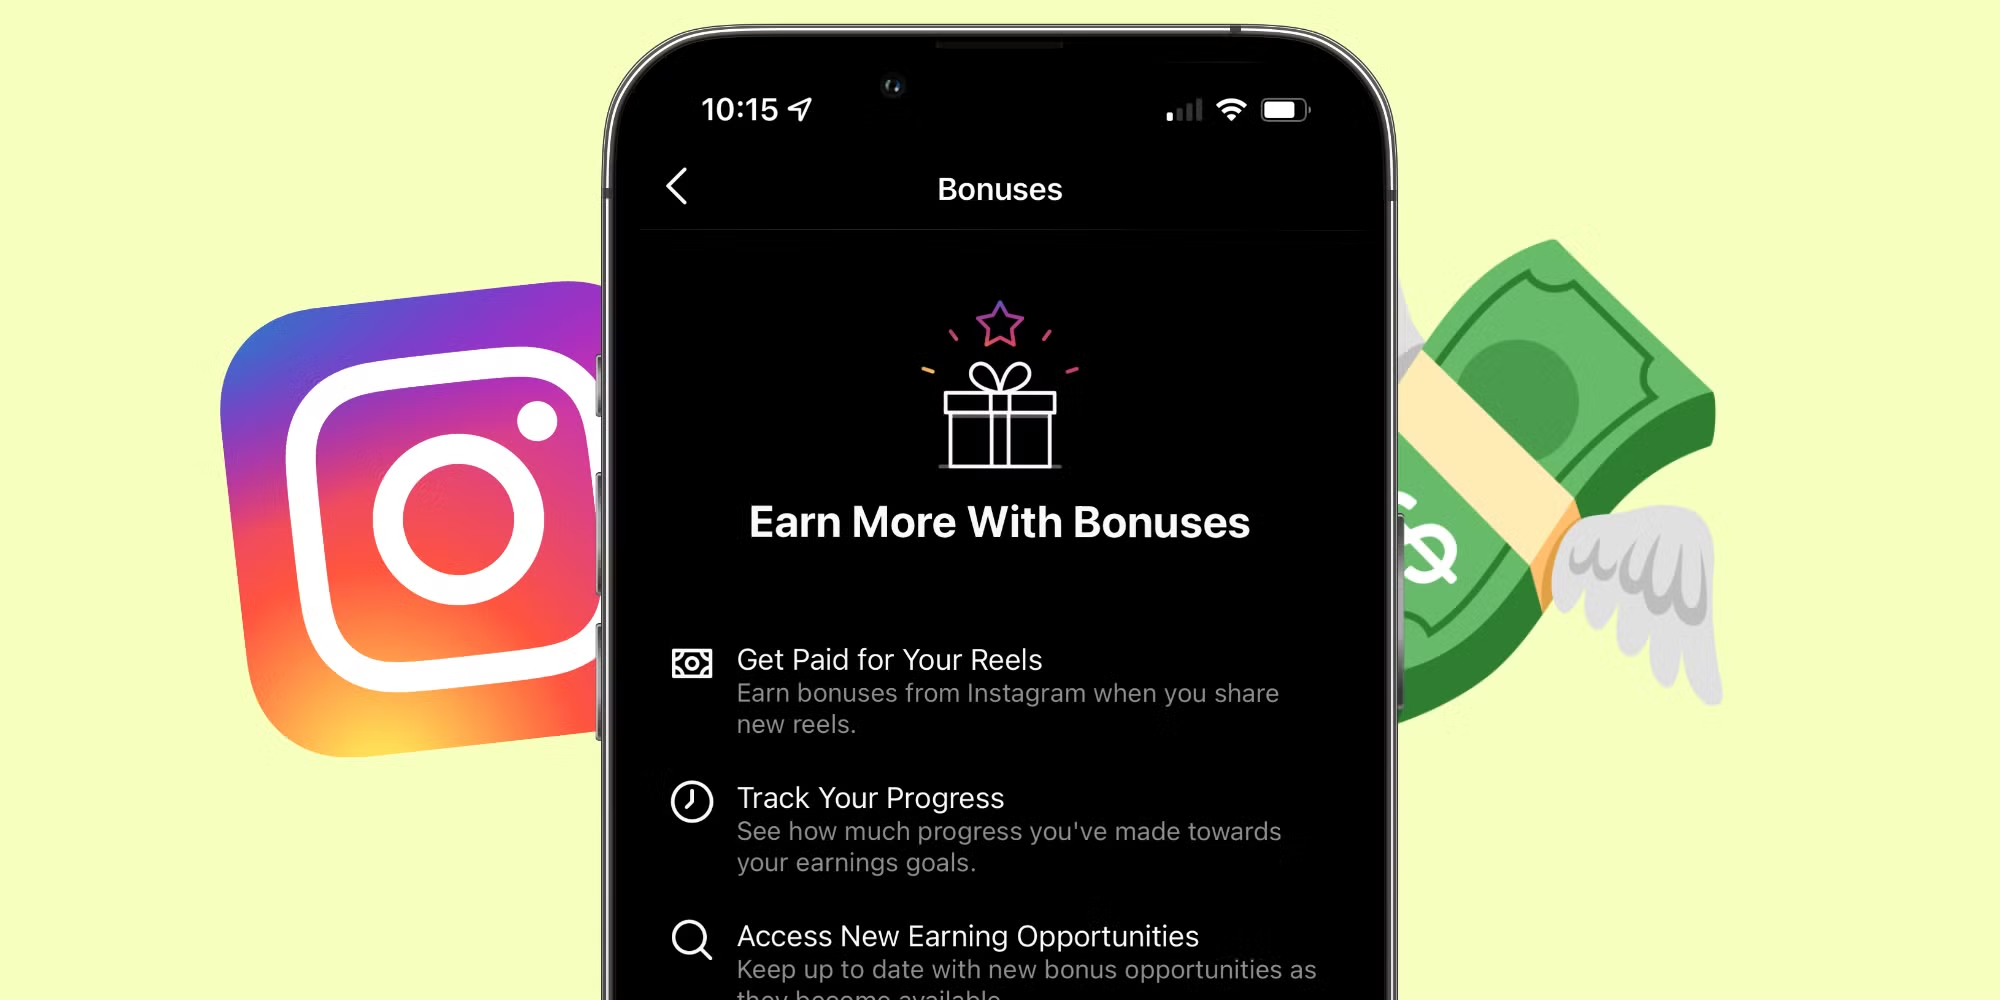
How To Earn From Instagram Reels
Monetize Instagram Reels by partnering with brands, promoting products, adding shoppable tags,…

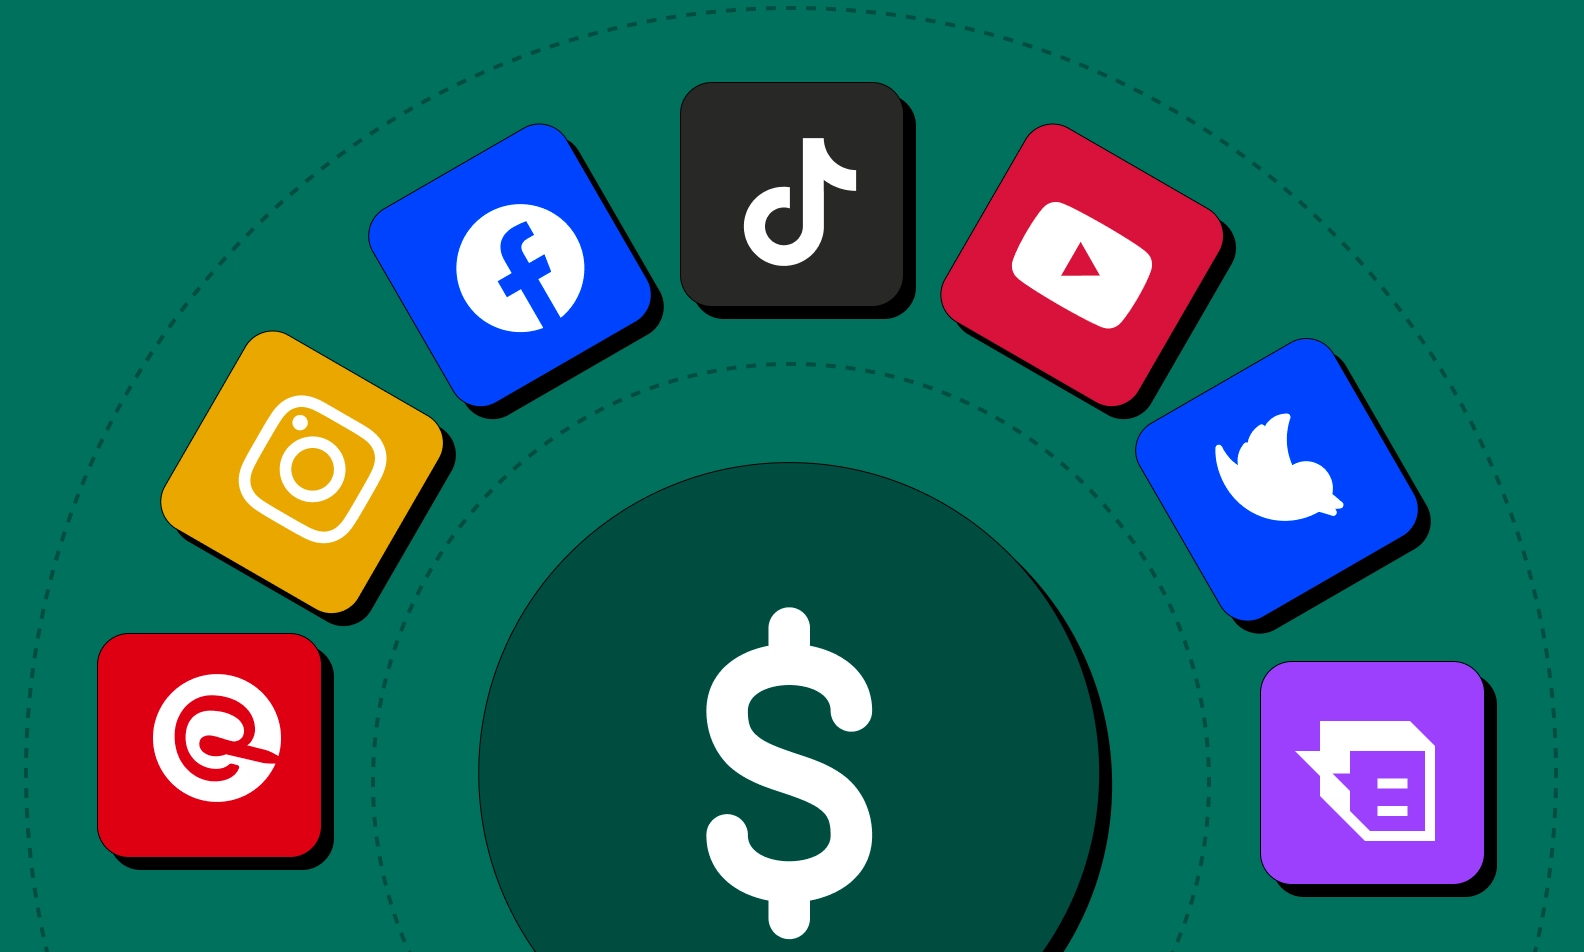
How to Make Money Using Social Media
Learn how to make money on social media with proven strategies like…

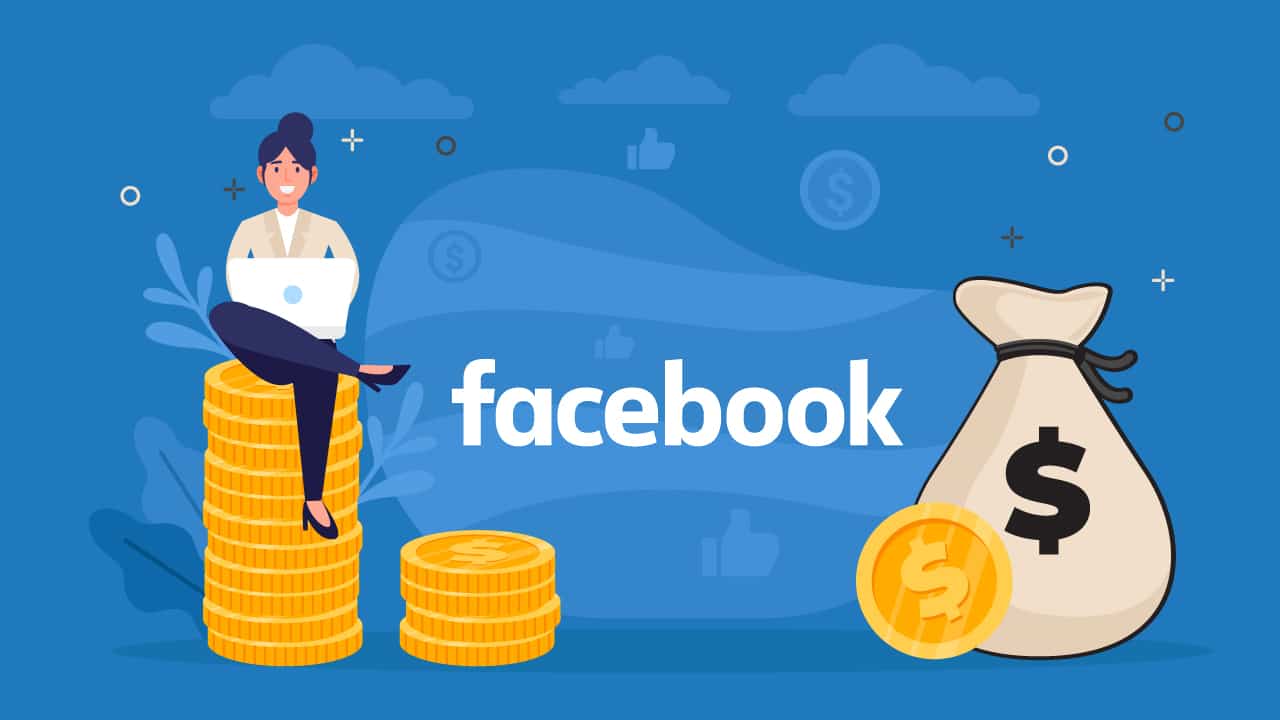
How To Make Money From a Facebook Page
Learn proven strategies to monetize your Facebook page, from ad revenue to…
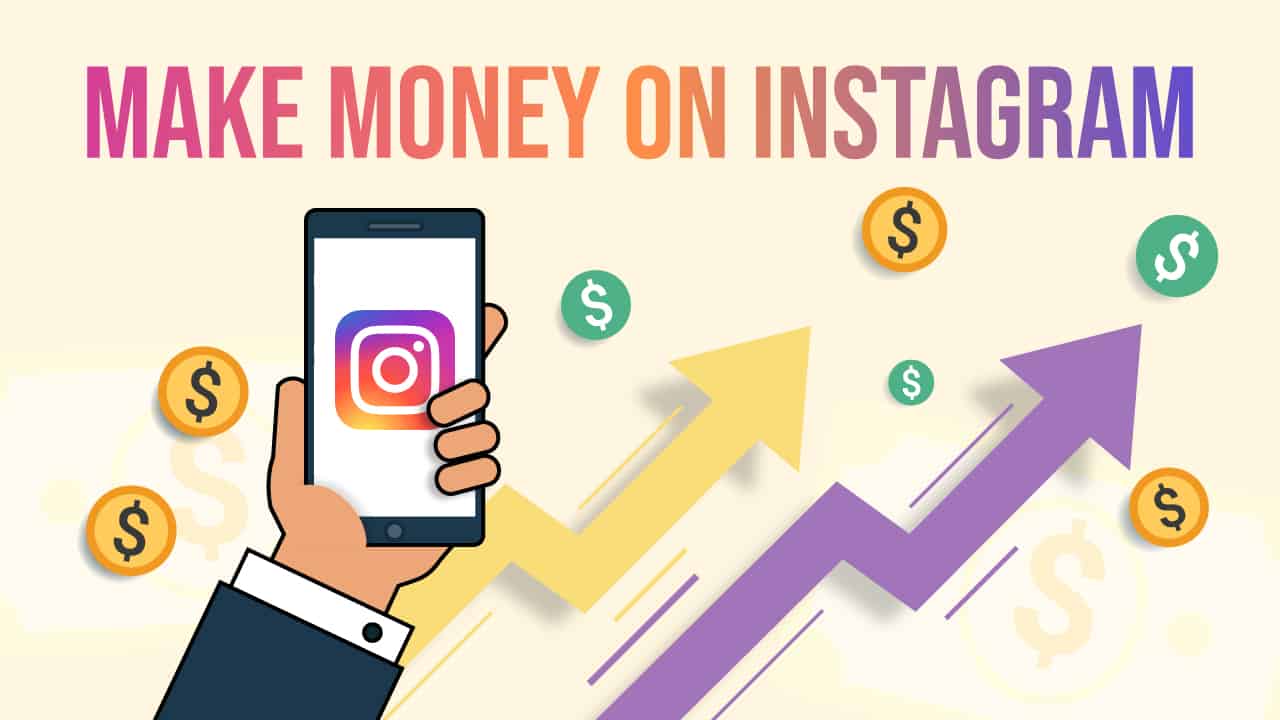
How to Earn Money on Instagram: Turning Your Passion into Profit
Learn how to earn money on Instagram by leveraging your passion, creating…
How To Make Money From Facebook
Learn how to make money from Facebook with strategies like affiliate marketing,…

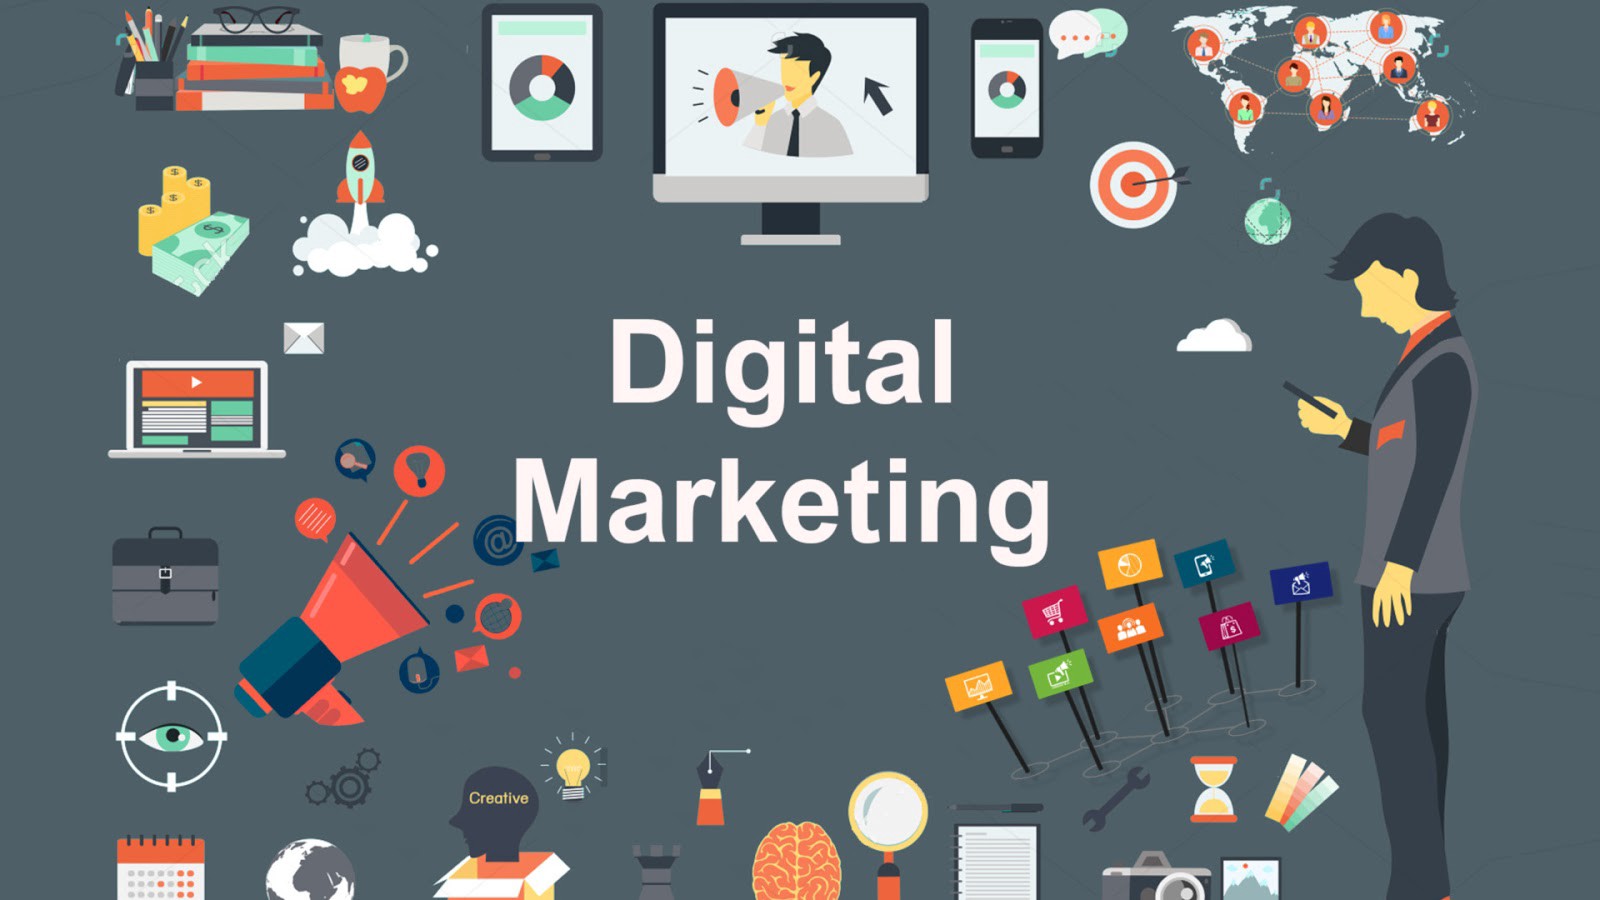
How to Earn Money in Digital Marketing
Learn how to earn money in digital marketing with strategies like affiliate…


How to Change AI Text to Human Text
Learn how to make AI text undetectable with these simple tricks. Transform…


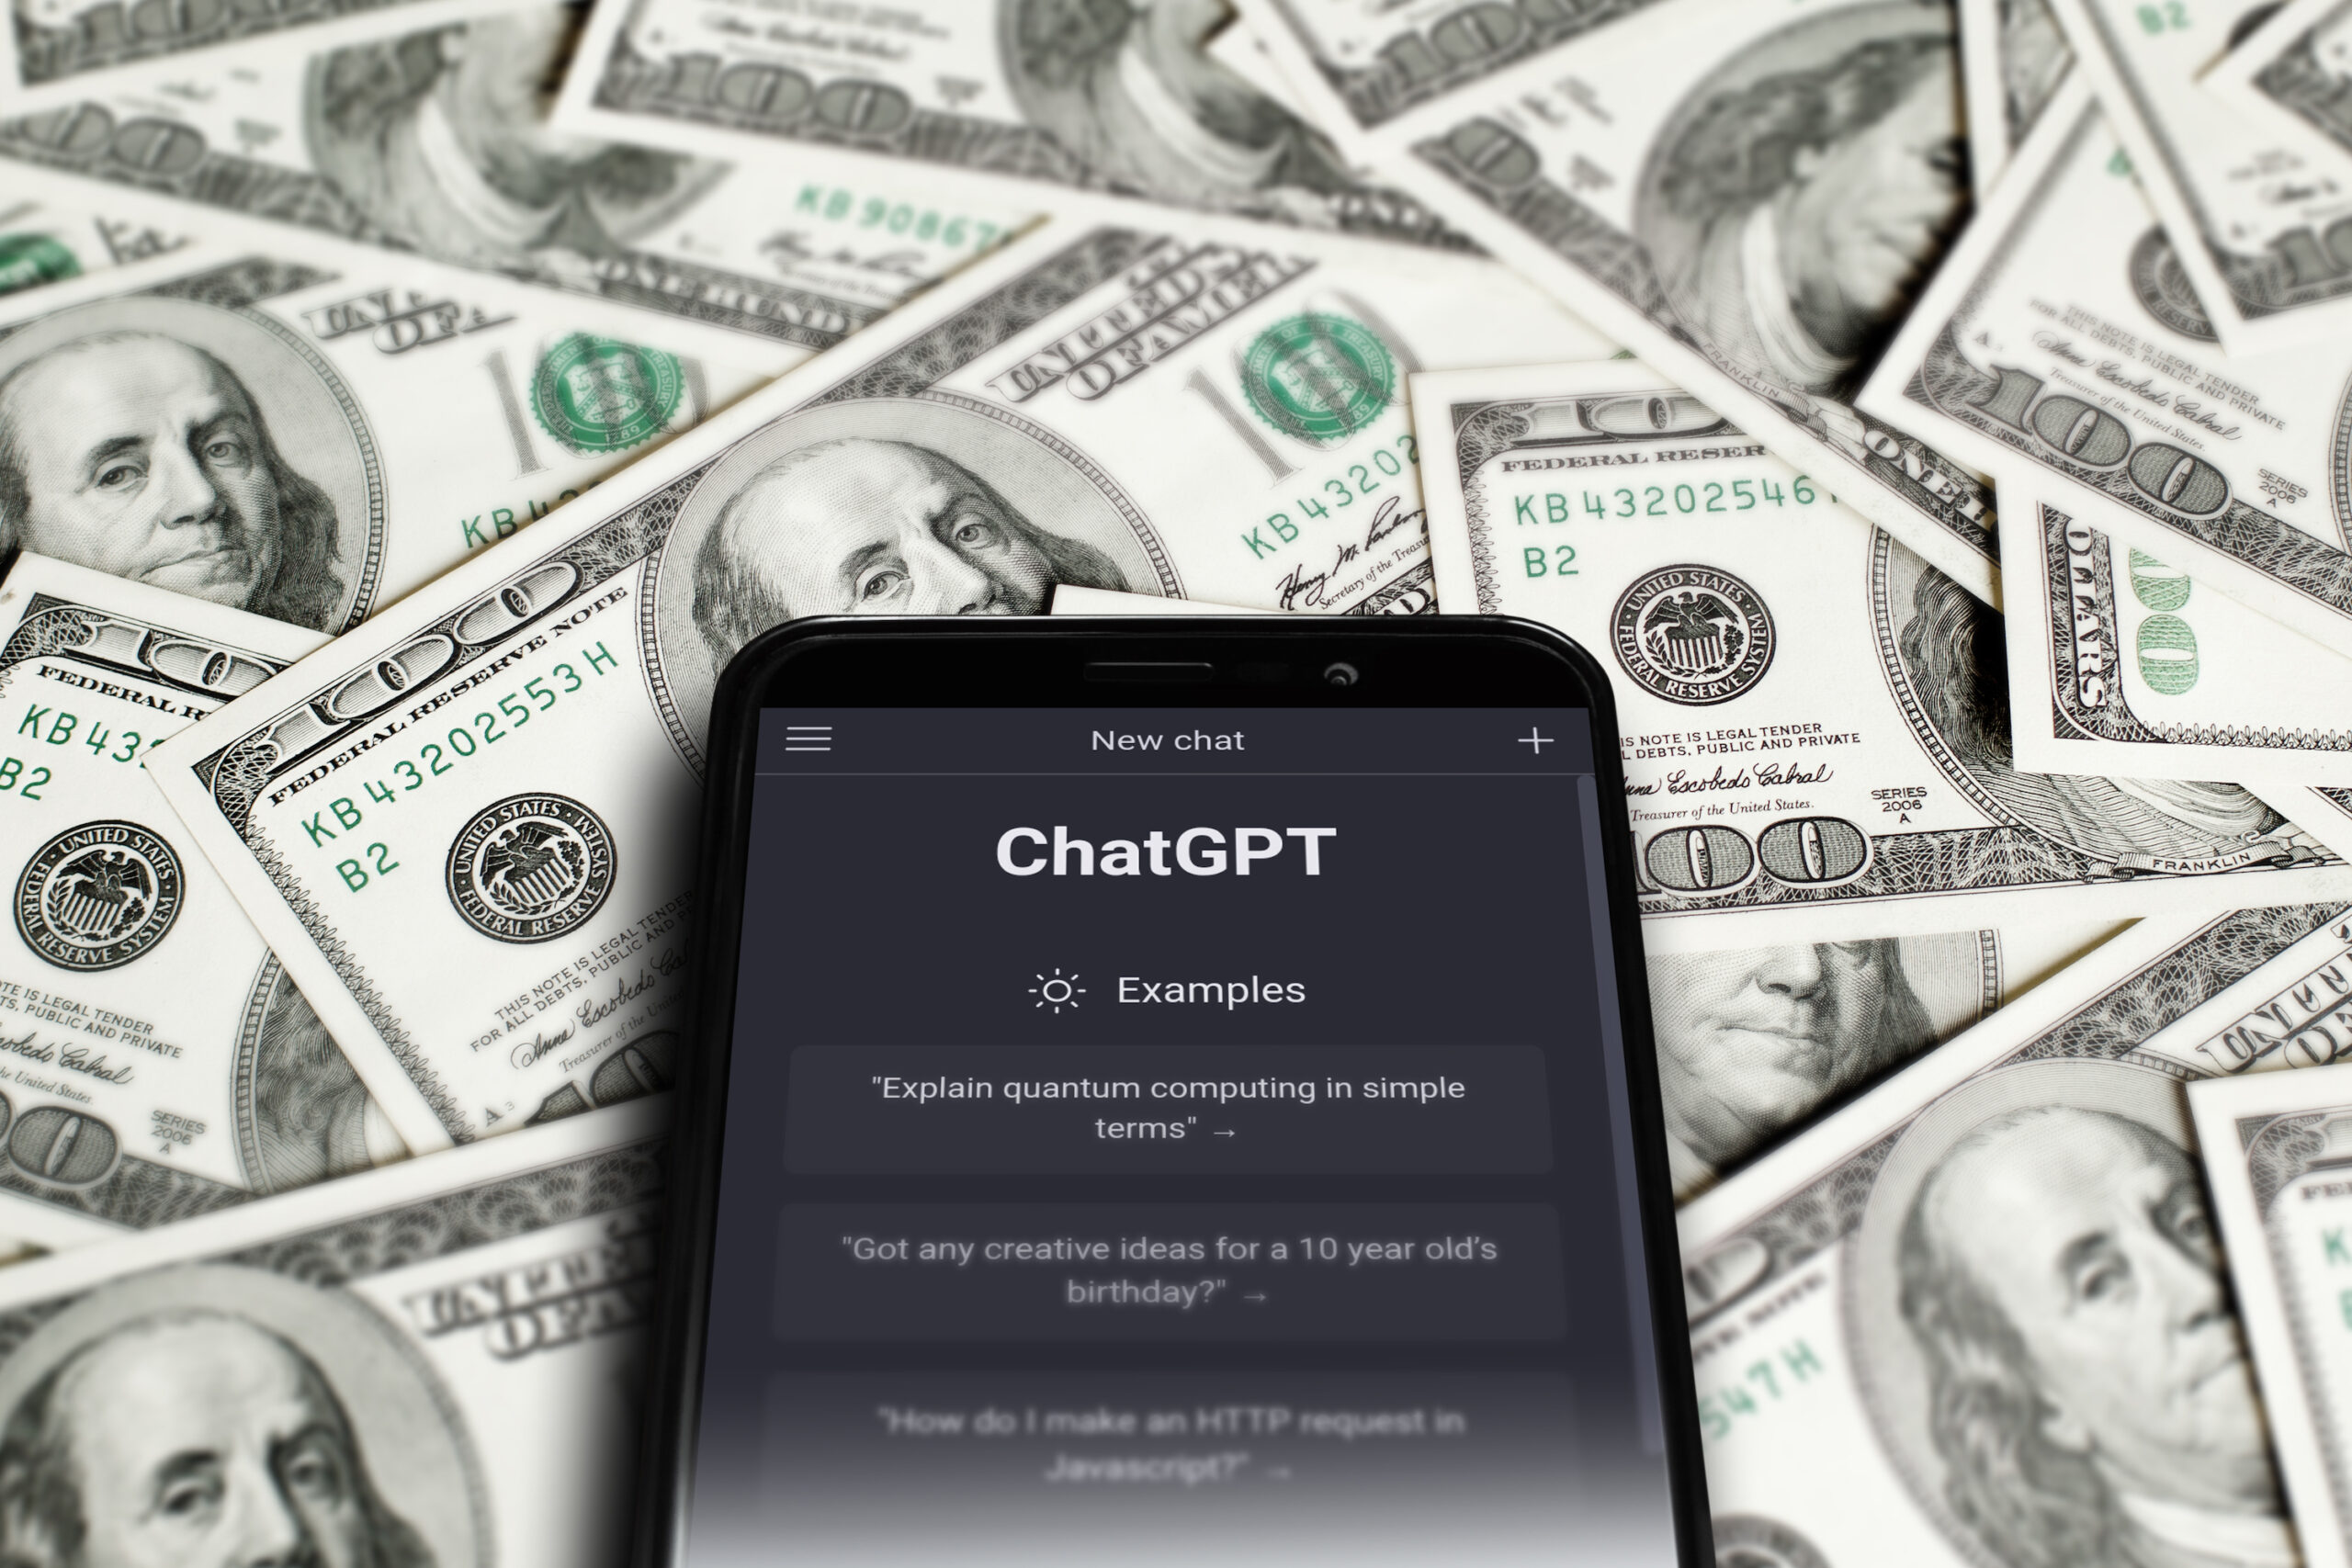
How to Make Money Using ChatGPT
ChatGPT is a super powerful language model from OpenAI that's not only…

How to Make Money with AI
Artificial intelligence is no longer science fiction; it's here, and it's changing…


WhatsApp Brightens Up Video Calls with New Low-Light Mode
Improve your WhatsApp video calls in low light! Learn how to activate…